Plexiglass Hatch-board Project
In honor of the impending winter rains, here is an illustrated description of how I made plexiglass hatch-boards for Laughing Matter. They make it MUCH more light and pleasant aboard when it's cold or raining, besides WORKING BETTER in the rain than the standard hatch-boards. This project requires no special tools beyond a sharp, fine-tooth saw of some kind, or even just a sharp knife and a metal ruler, though the guy with the electric scroll saw will be finished long before the guy with the hacksaw-blade-holder.
I am very satisfied with this project, and recommend it to all those who want to lighten up their boats in the rain.
The Problem:
The usual wooden hatch-boards are opaque, and many leak both water and air at the junctions if the wind is wrong. Beyond that, unless the wind is dead ahead or astern, water from the hatch-boards and companionway-threshold is directed into the side-channels at the sides of the companionway, from where it leaks into the boat and can even rot woodwork. A canvas cover can solve both leaking problems, but is also opaque, and costs as much or more than these hatch-boards.
My Solution:
I have seen plexiglass hatch-boards with beveled junctions, and with the junctions cut to various profiles with router bits. None seemed really satisfactory to me so far. The blunt or shallow-cut ones leaked badly, and the sharp or deep-cut ones were sharp and fragile and still seemed to leak in the wrong wind.
Although I do have a router and a table for it, I decided to go with “glue” and added flanges. [Actually, it's not “glue” but “solvent” and we're not “gluing” but “solvent-welding” but I'll still say “glue” and “gluing”.]
1) Using the old boards as a guide (do THEY fit well?), cut thick plexiglass (see below) to match the angle of the companionway, and into boards of the chosen size. Consider weight, ventilation, and stowage when you decide how many “boards” you want to divide the companionway space into, and what thickness plexiglass to use. Thick plexiglass is heavier than wood. A mock-up of cardboard or foam-board can help with stowage planning.
I have a small 8” board at the top. Since my dodger overhangs, in rain without aft wind I can often leave it open. I plan to build another board to go there that will have two 12V fans in it, under some sort of dorade arrangement I'm still figuring out. Stay tuned...
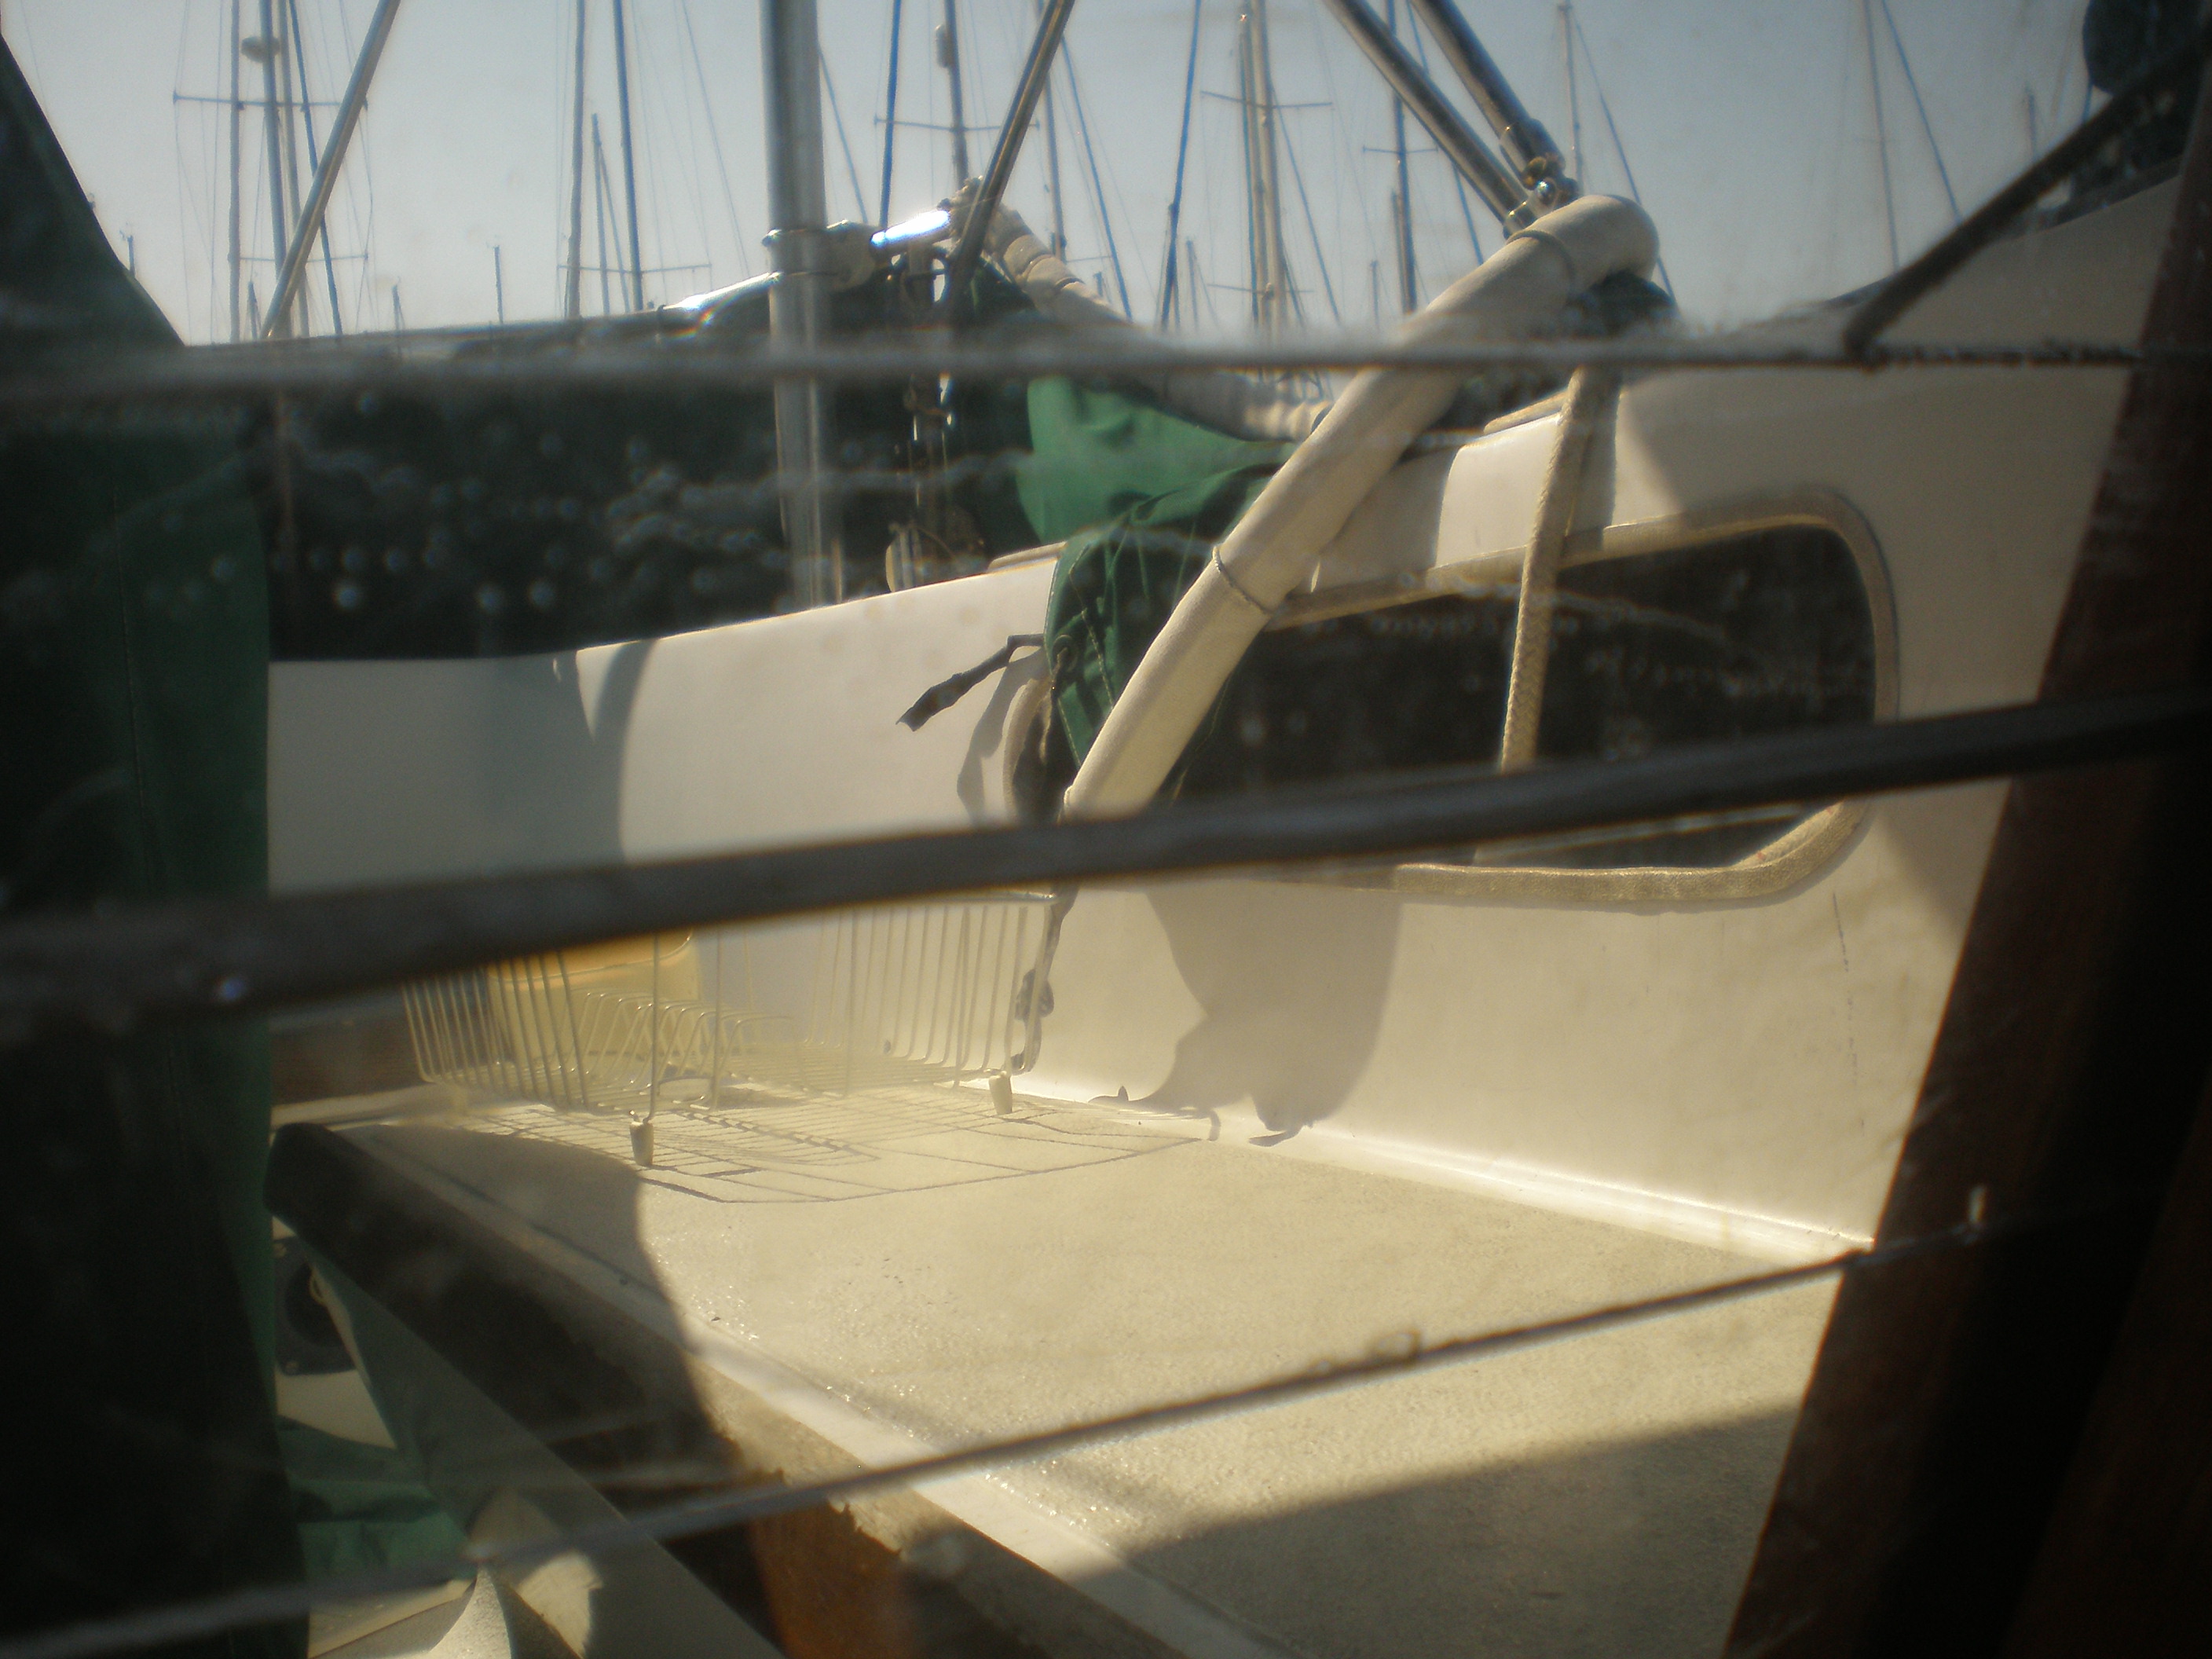
#1:
Junction and 3" flange from inside, showing overall effect.
Triangle visible at top right corner.
2) The purpose of the flanges of clear plexiglass (see photo #1, above) is obviously to prevent leaks through the junctions. I used 3” wide strips with 1.25” glued, but 2” wide strips with 1” glued would be plenty, in retrospect.
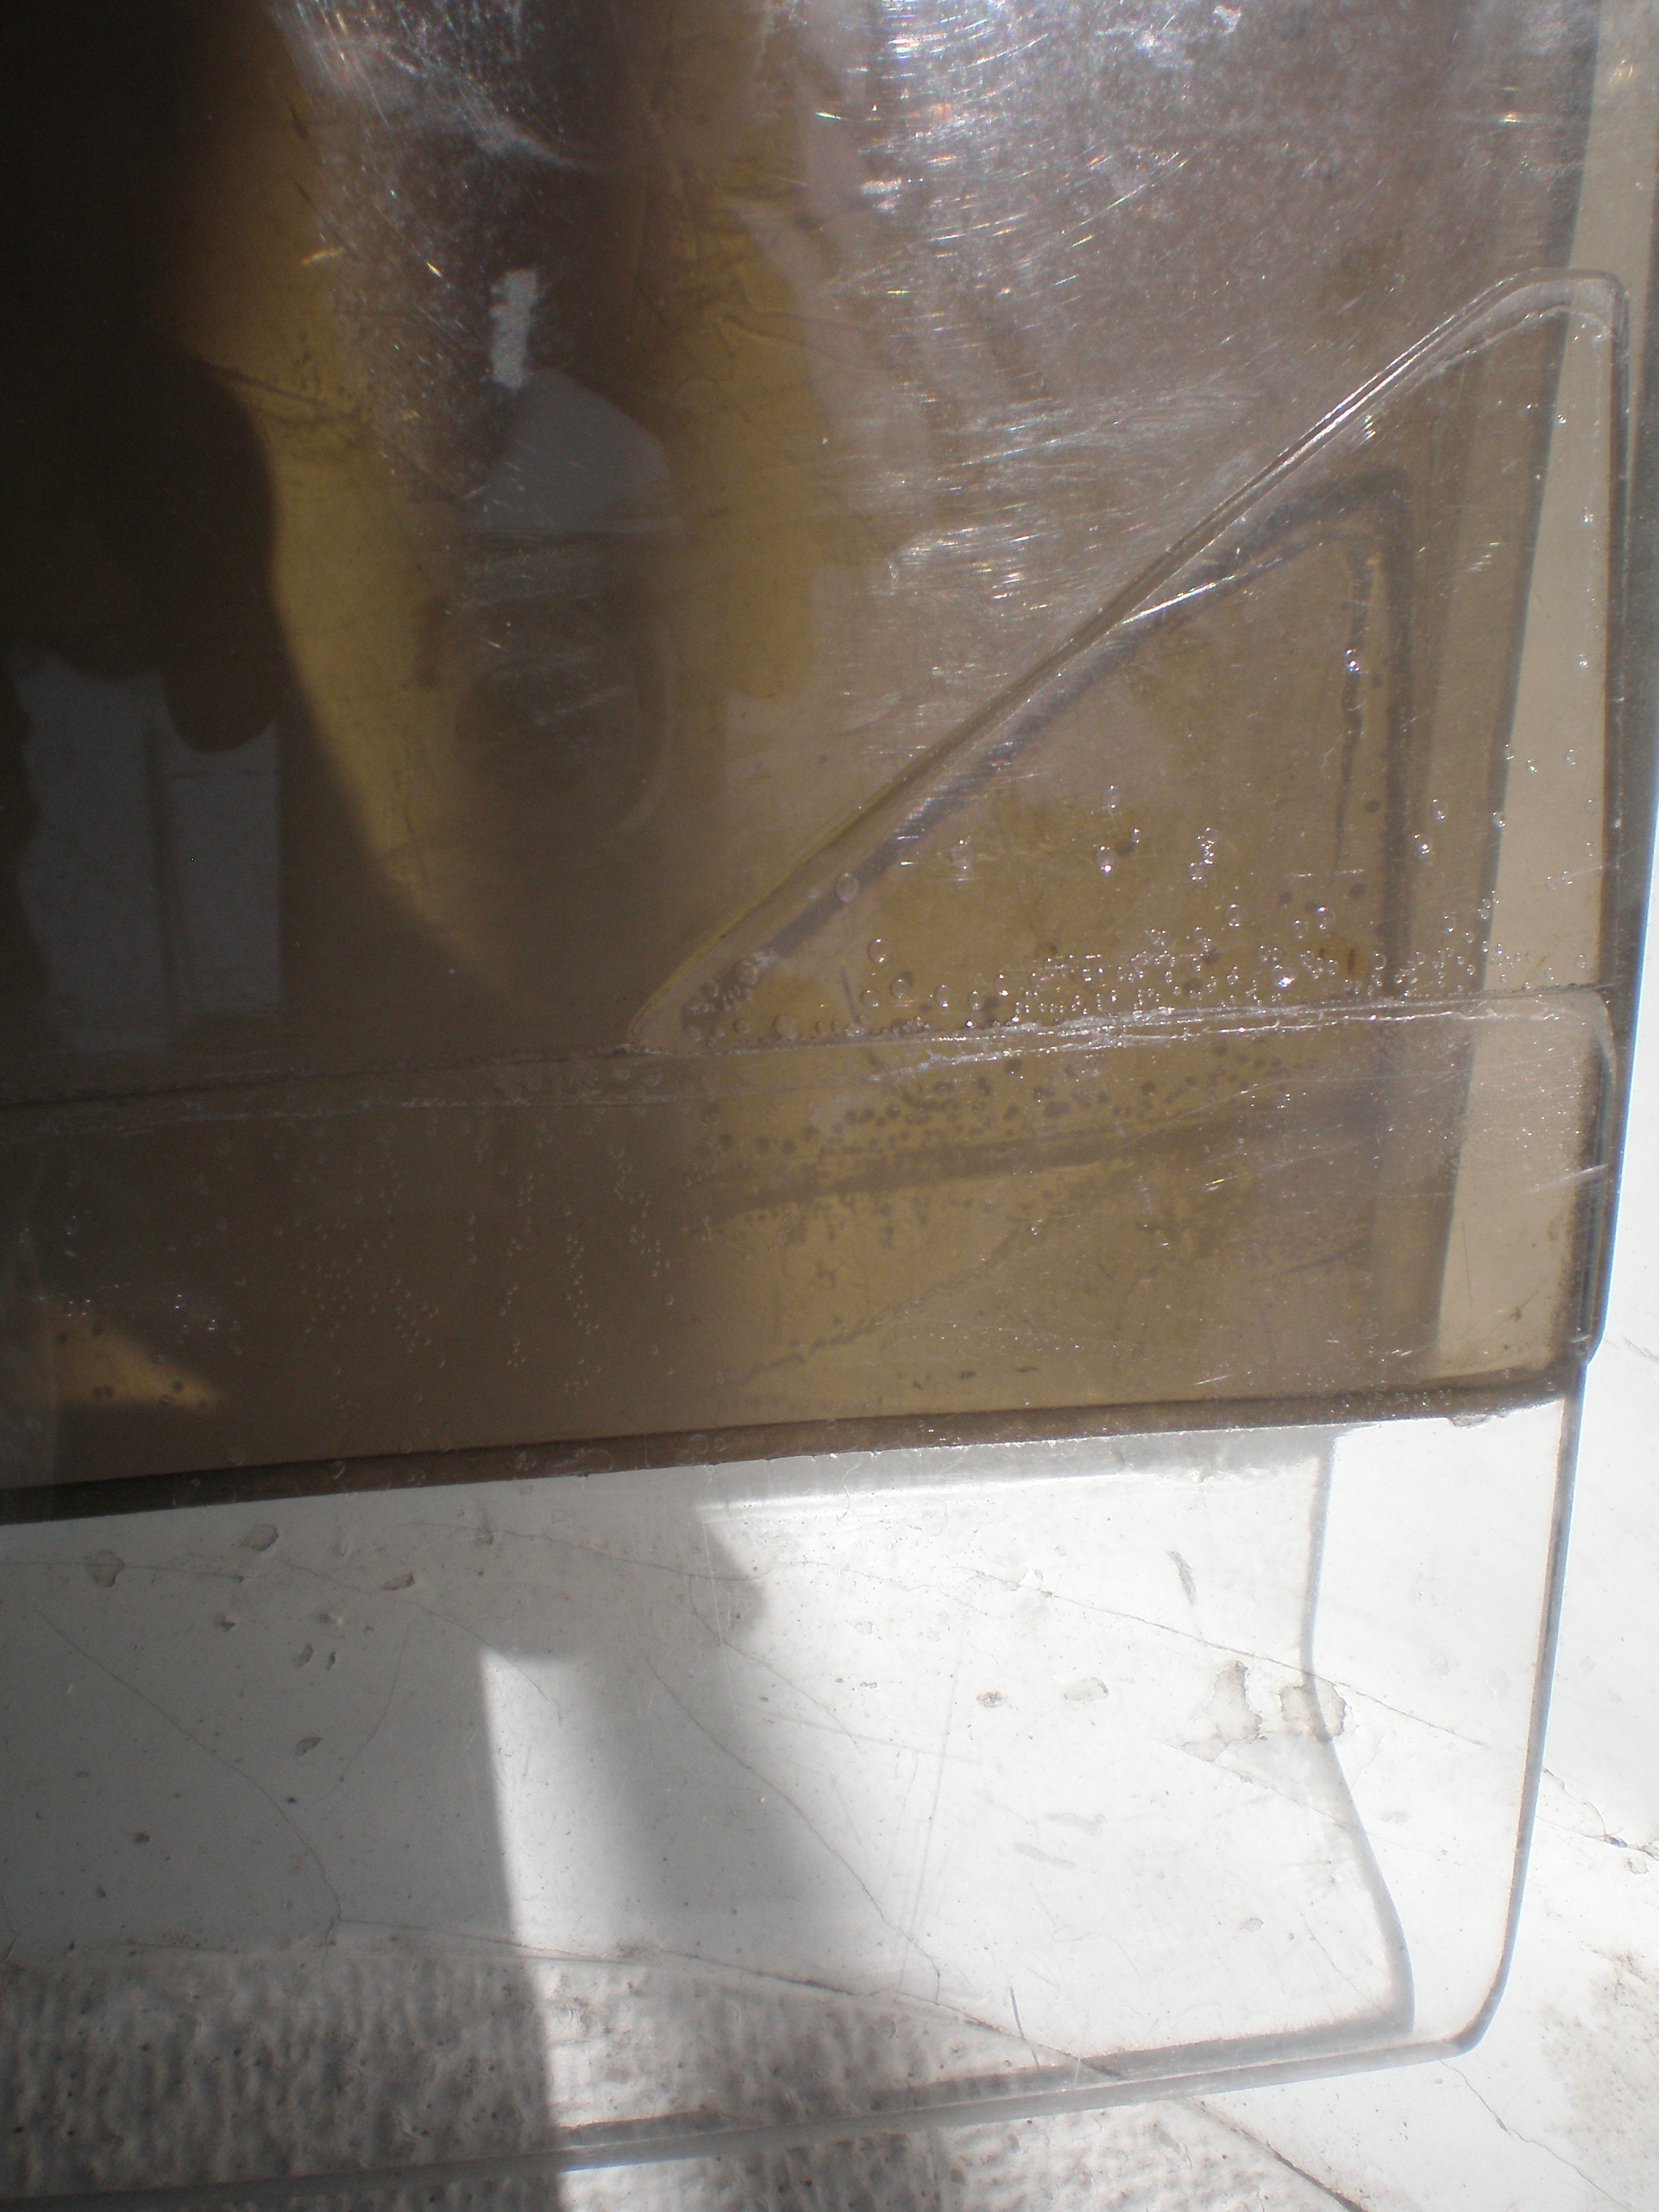
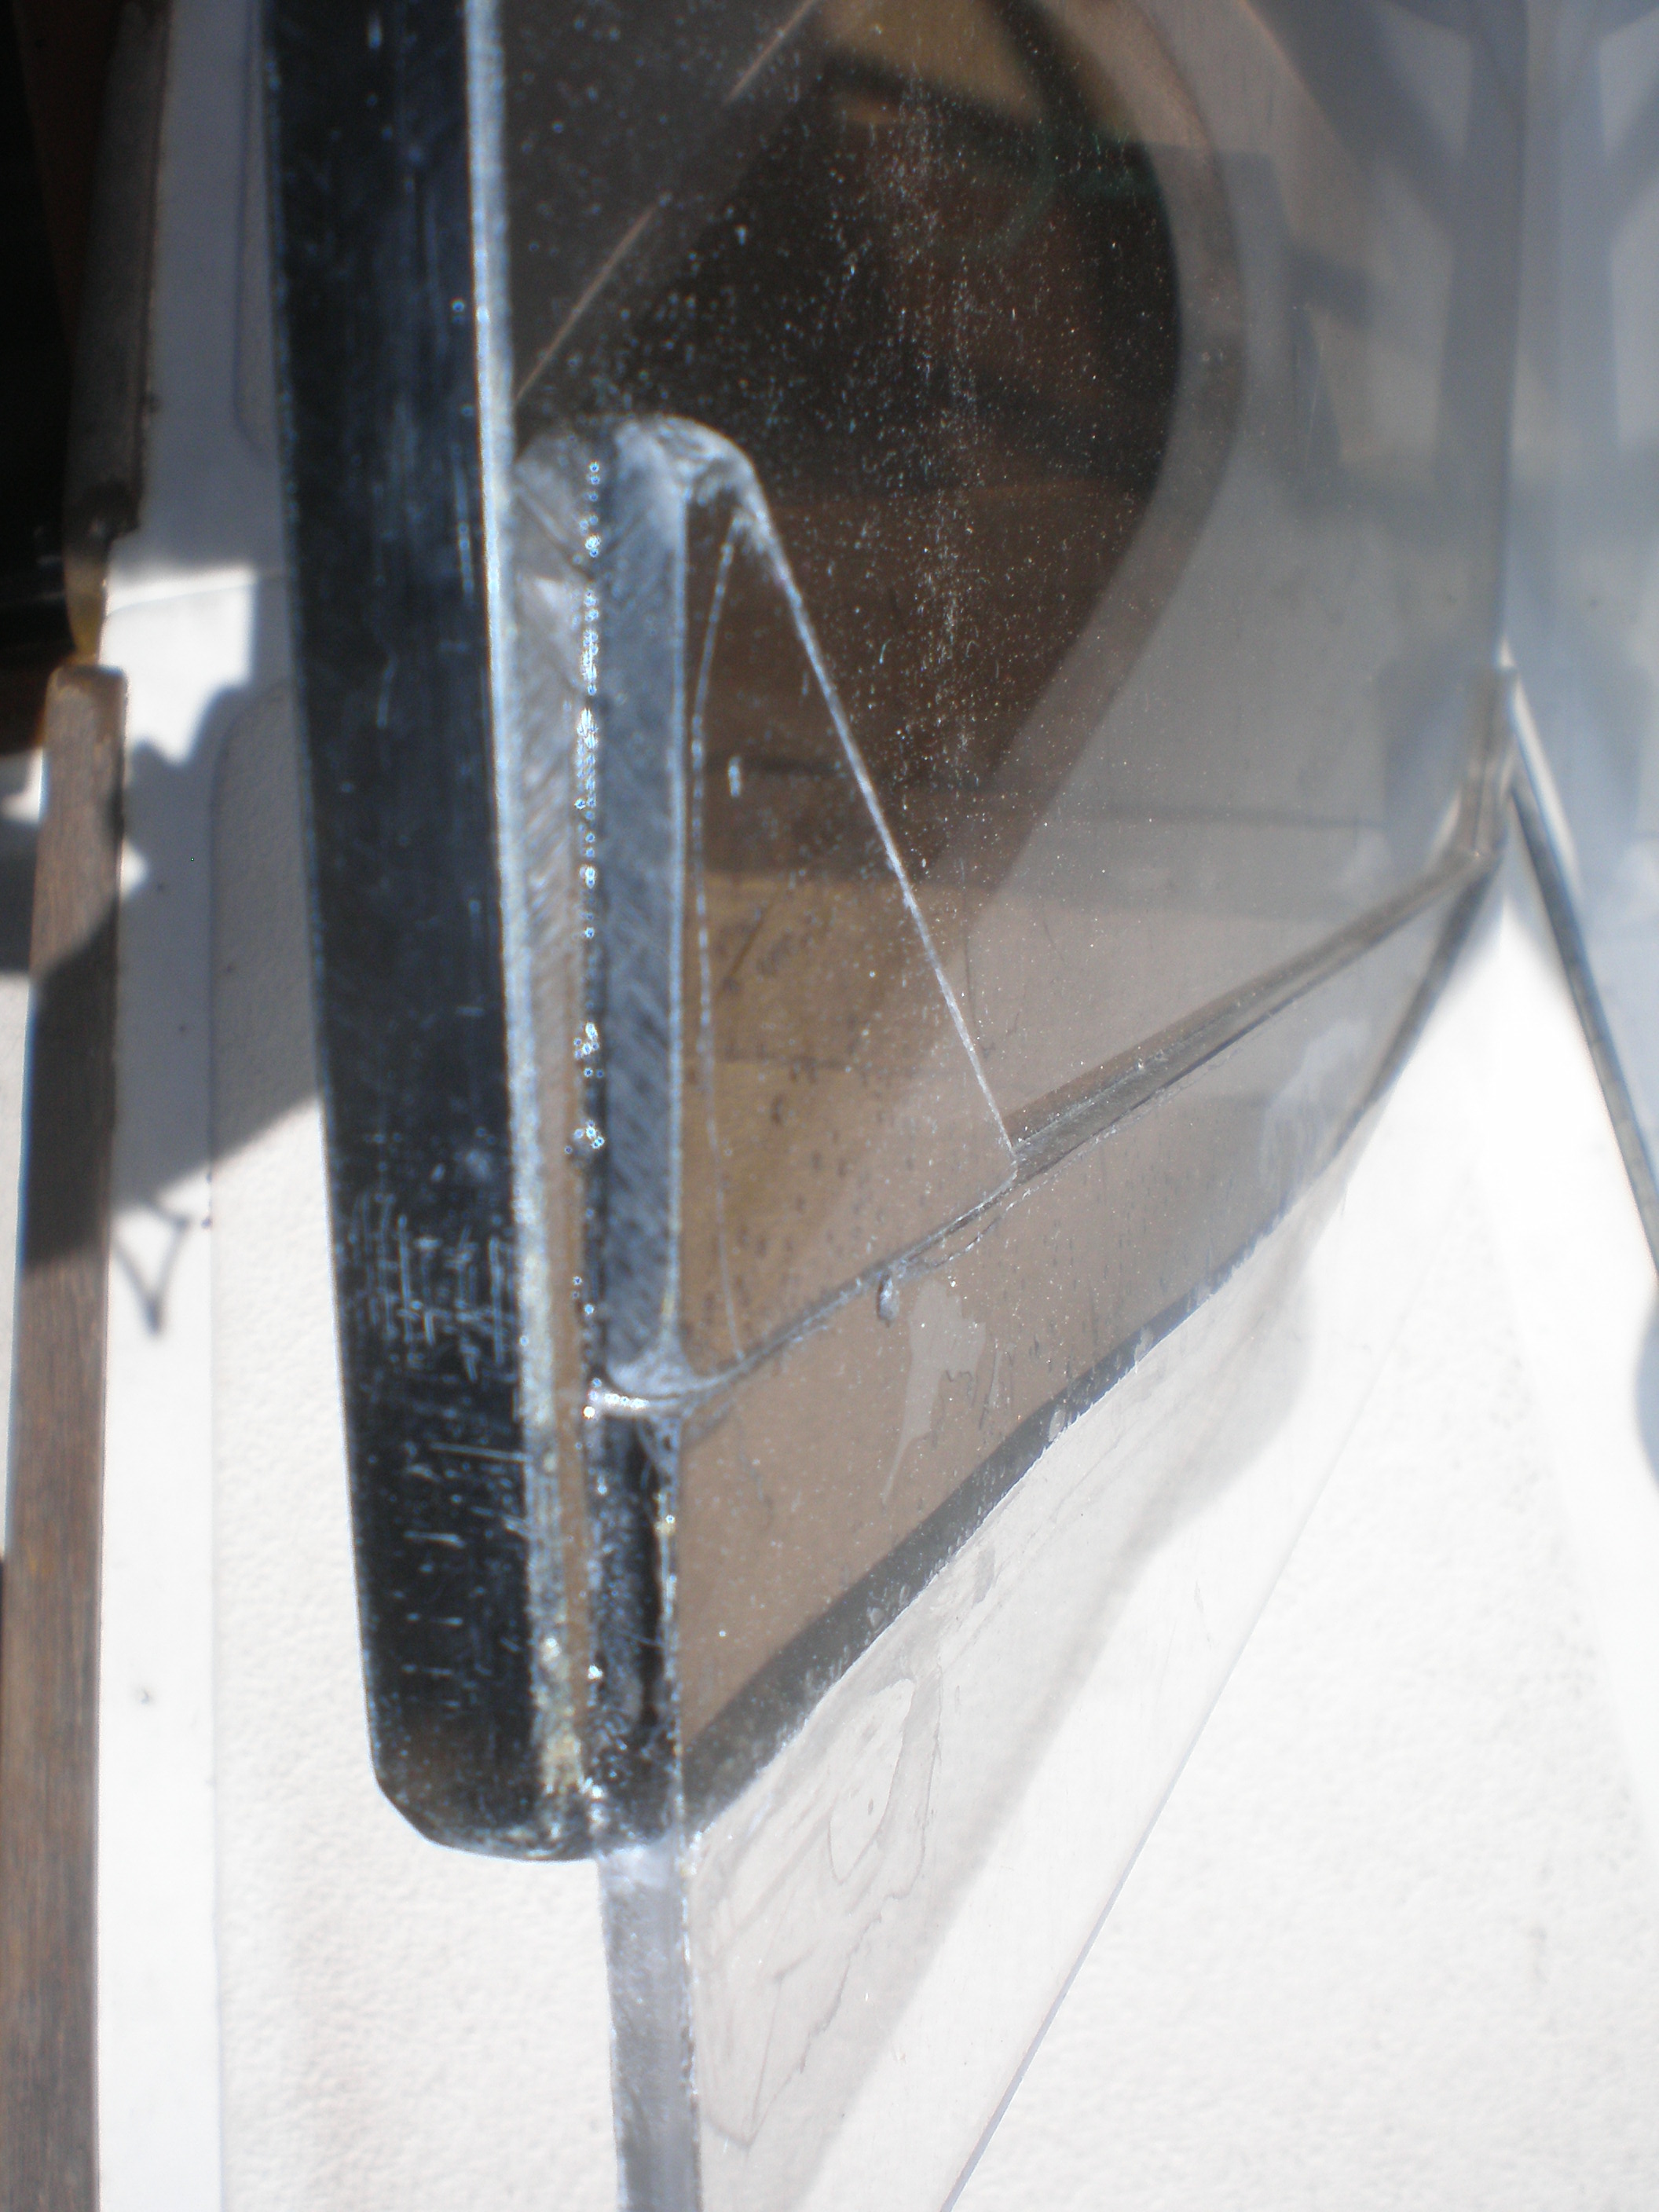
3) The purpose of the “rain-triangles” above the flanges (see photo #2 and #3, below) is to channel the water towards the center, keeping it out if the companionway side-channels. If I had it to do over, I'd make them even wider (not isosceles) or just bigger so they channeled the water even further toward the center for even stronger crosswinds, but they work perfectly in almost all conditions.
#2:
Detail of corner, showing rain-triangle and thick-smoked &
thin-clear plexiglass.
#3:
Side view of lower edge showing rain-triangle and overall
construction. Note all corners and edges are radiused by sanding
before assembly. The side sliding surfaces are slightly convex.
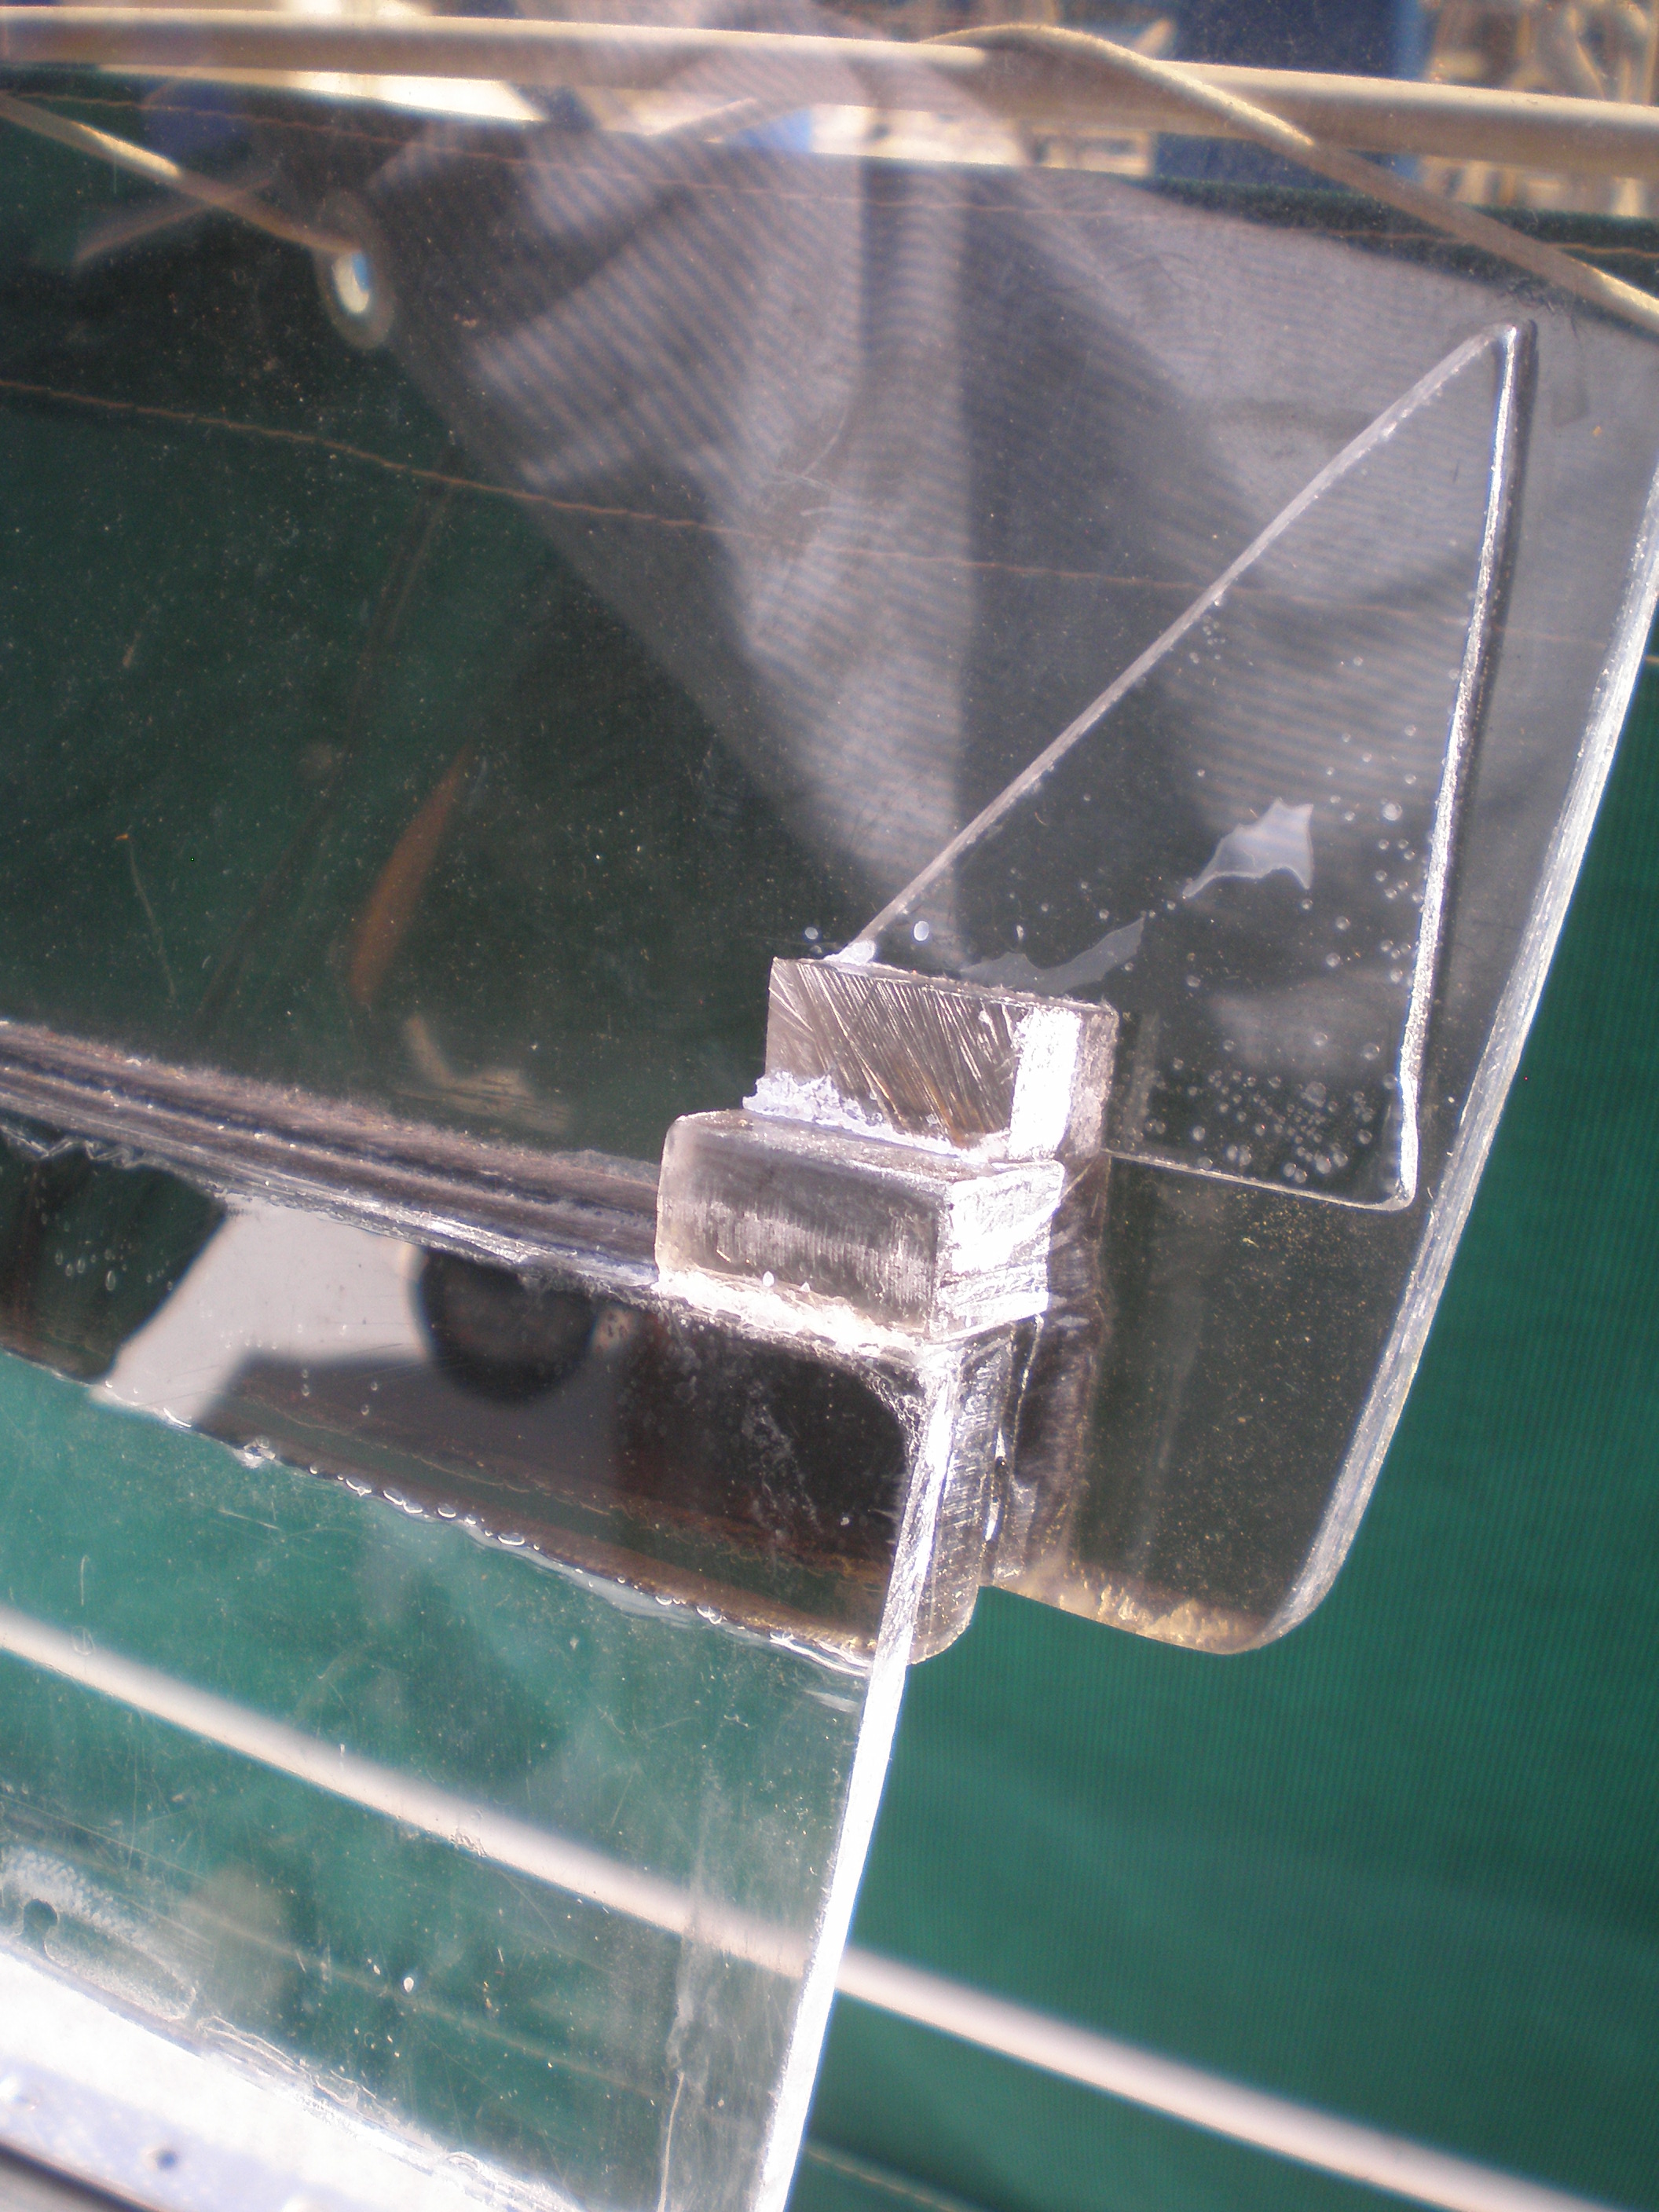
#4: Bottom corner showing offset shelf for companionway jamb. I used left-over scraps for blocks aft of triangle - these should really be triangles (prisms) too. The goal is to prevent water from running out sideways.
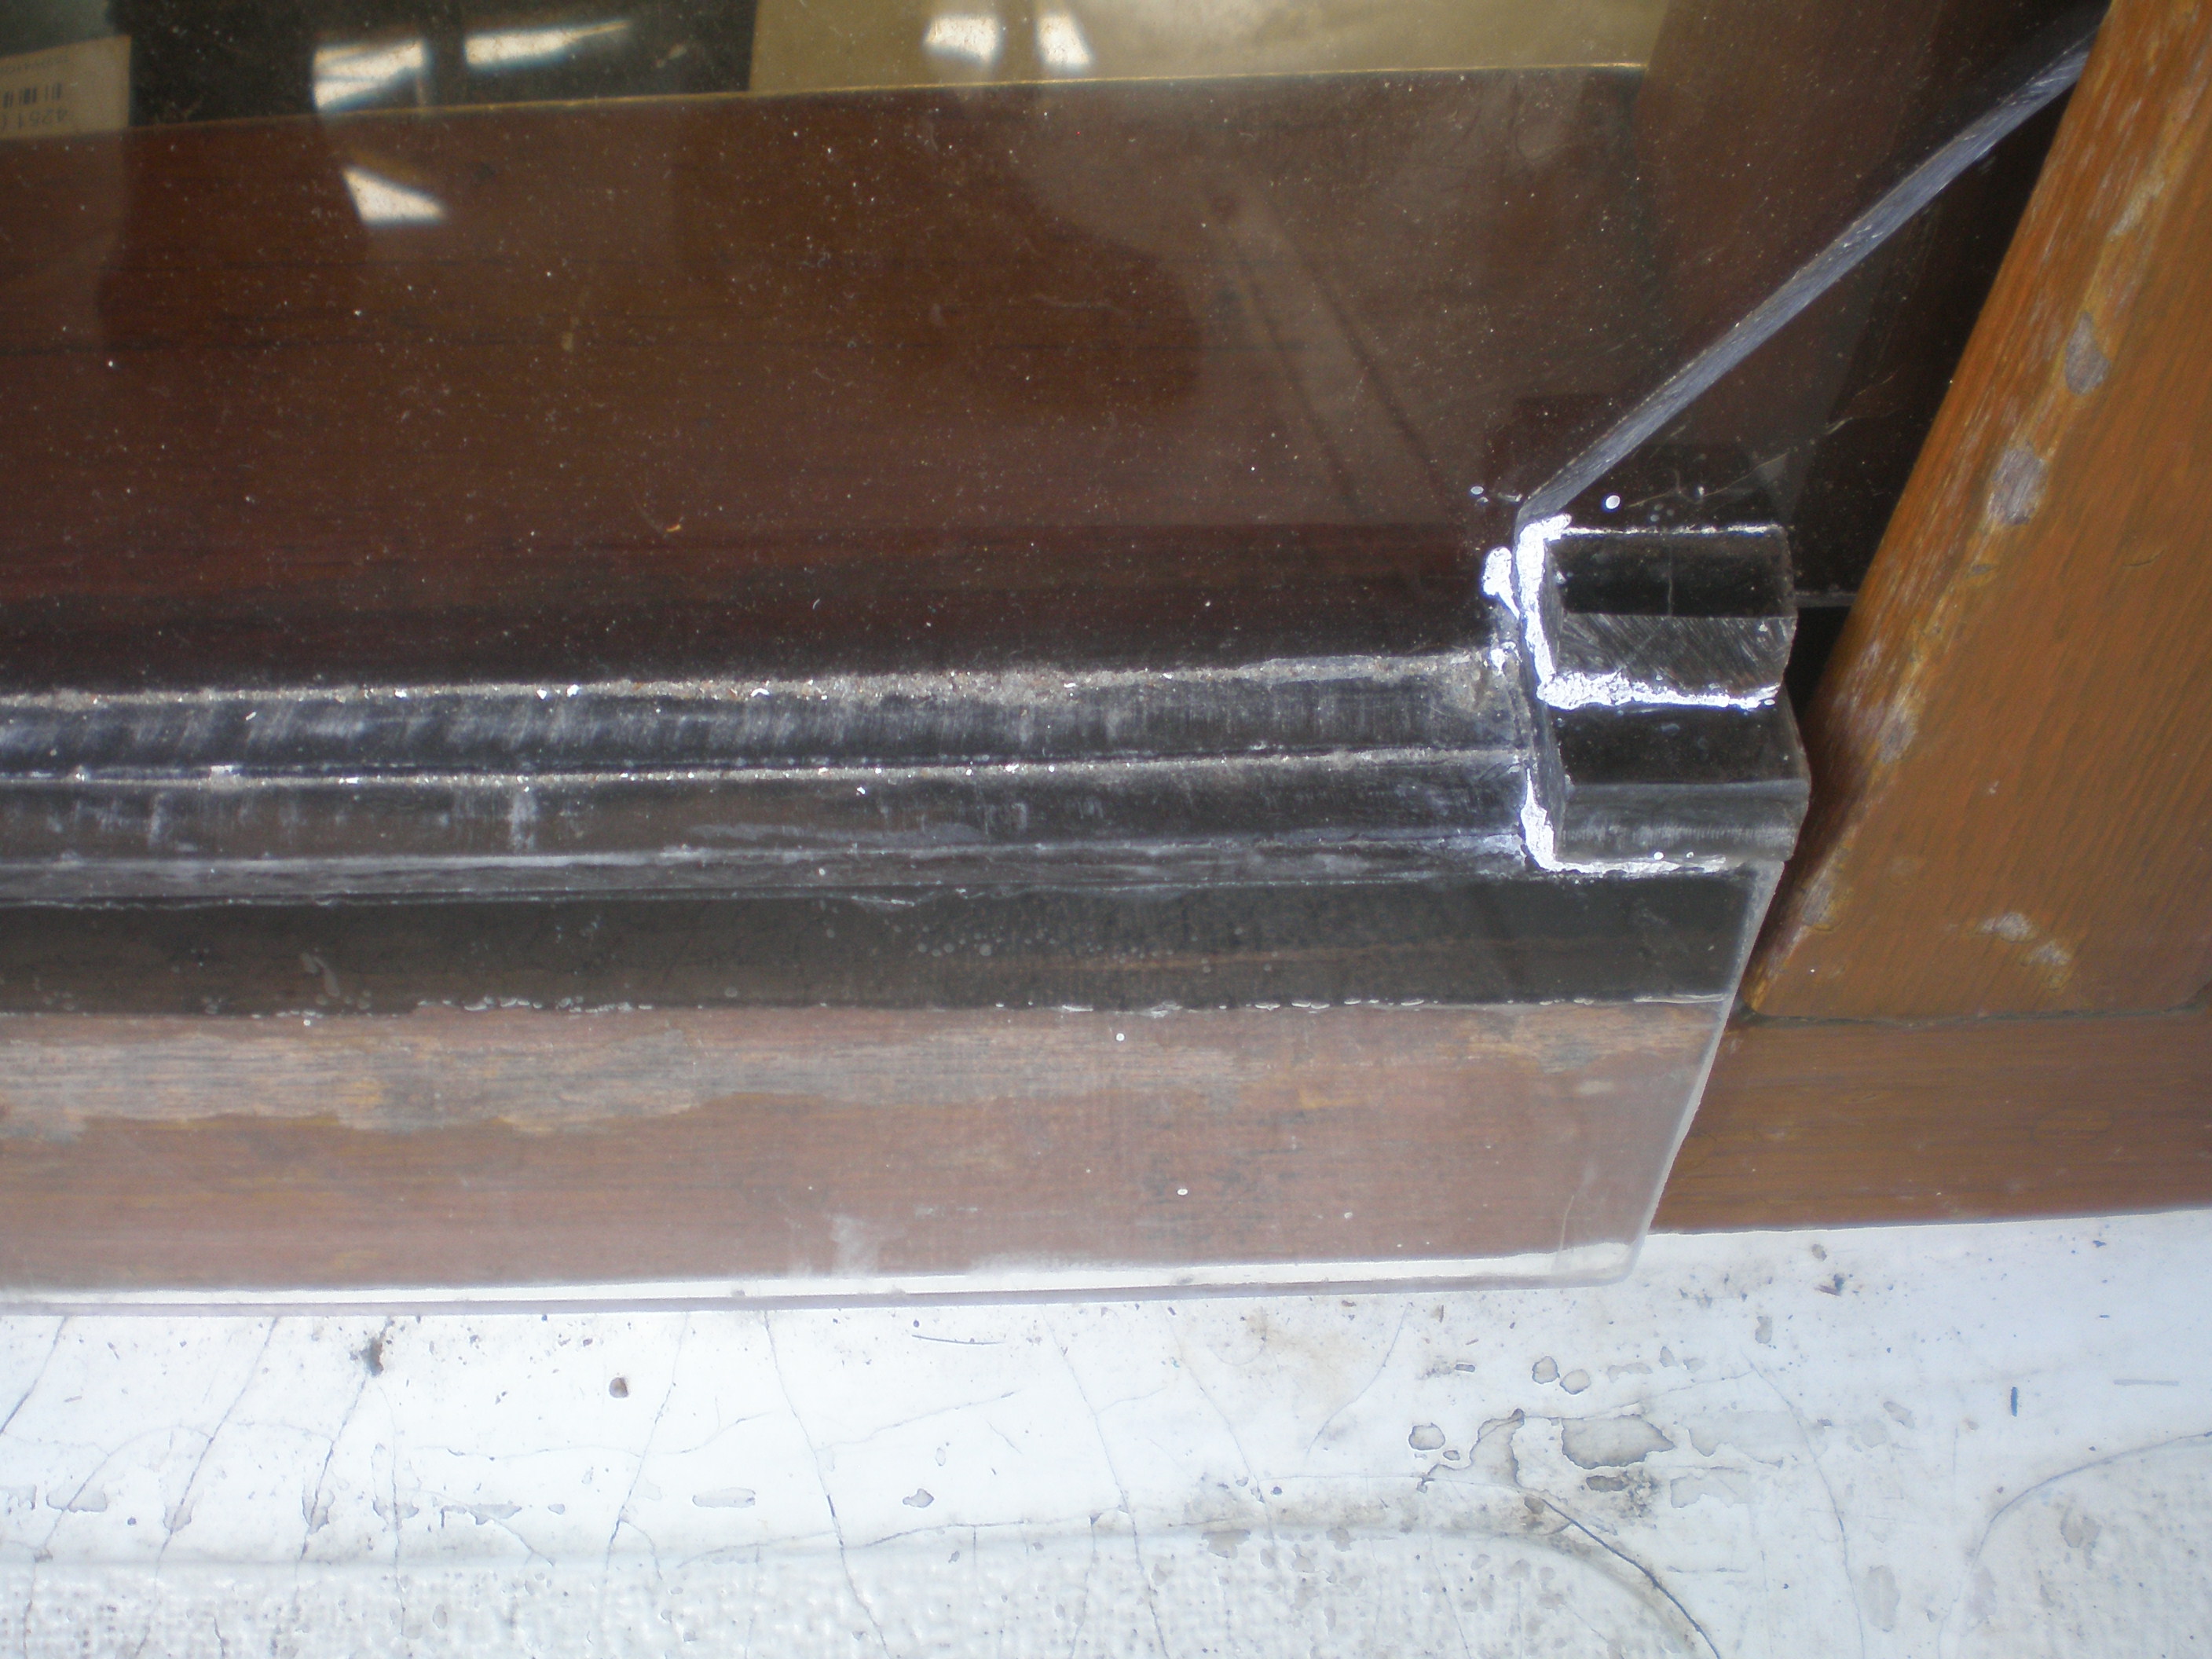
#5:
Raindrops-eye view of bottom corner in place and ready for rain.
Properly-cut prisms would look nicer than left-over blocks I
used.
4) The bottom (see photo #4 and #5, above) is the most complicated part. Its “flange” is offset aft by a shelf made of strips of the thick plexiglass. I built the bottom shelf out of scraps, and it could be improved visually by using thick triangles (prisms) at the sides instead of blocks, and functionally by attaching it at an angle to drain better by beveling one of the strips. These would be improvements, but seemed too difficult at the time. The purpose of the bottom shelf is to direct the water past the hatch-threshold wood onto the cockpit floor. If it can run out the ends of the shelf, the purpose is defeated, so the blocks and so on must be tested watertight.
5) On my older boat, the angled top hatch-board holds the others in place, so I can lock the boat with the plexglass boards in place as easily as the wooden ones. Newer boats have different arrangements there, which may mean modifications (such as hasps) to the top board.
“Gluing” instructions:
1) Use Plexiglas (acrylic), not Lexan (polycarbonate). Polycarbonate is stronger and better in many ways, but it's too hard to glue for this, and even heavier than acrylic.
2) Get nice, thick around 1/2" (7/16 - 5/8) acrylic for the boards (I suggest lightly smoked or bronzed) and thinner, but still beefy, 1/4" (or 5/16) clear acrylic for the flanges and triangles.
3) Cut and dry-fit all pieces, sand all the edges smooth, and radius all the appropriate edges and corners before assembly. I cut the plexiglass with a scrolling saw and a fine-tooth metal-cutting blade, after first taping it tightly on both sides with blue painters' tape. If the sound (or smell) changes, check the blade for melted acrylic. The same goes for drilling. You can even cut it with a sharp knife and a metal straight-edge, taping, then heavily scoring both sides, then breaking along the scoring. (I'm sure there are other ways to cut this stuff -- anyone know?) Then I used a random-orbital sander to smooth edges and corners.
4) Use acrylic solvent -- it's not a glue at all. It's much thinner viscosity than water, and capillaries well into cracks. If you've never used it, I strongly suggest practicing on some scraps. The solvent is HIGHLY volatile (also flammable) and bad for you to breathe, so do all this outside, preferably from upwind of the work in a steady mild breeze, and wear a respirator if necessary. If you can smell the stuff, something is necessary -- move upwind or to a better-ventilated place, or get a respirator made for volatile organic chemicals (like paint thinner). If you can smell it through your respirator, it's leaking or not the right kind. You don't want this stuff on your skin, either...
5) Simply line up the parts where you want them and tape or clamp gently and minimally and only if necessary -- you don't want them clamped too tightly so no solvent can get in; ideally you want a very thin, even space between. Tape will trap solvent and roughen the surface beneath, so try to use it only on edges. Use cardboard jigs and gravity where possible to hold the pieces together and at the right angle to direct the solvent. A moment's extra thought at this stage will pay off...
6) Run a bead of solvent along the uphill edge (and maybe the top half of the sides, if necessary) of the joint, using an eyedropper. Give it all it wants, but QUICKLY, trying to fill the space, but NOT run out the other side -- you have only a second or two to work with! You should see it sucked into the space between the pieces. Small bubbles are undesirable but only a visual (vs structural) problem, but you should leave no voids untouched by solvent around the edges. If you need to squeeze or clamp or weight or move anything, do it quickly or not at all. Then freeze and don't touch until set (just a few minutes until you can carefully move it and do the next piece, 24 hours or so for full cure). Just so you know, if this is done perfectly, the joint is invisible and can have optical clarity only a little worse than solid plexiglass - but don't worry, I can't do that either.
7) DON'T try to wipe up any solvent spills from the surface of the plexiglass -- Yes, it will show, but if you wipe it, you will make it MUCH worse. Tilt the piece so the solvent runs off the surface ASAP, and let the rest evaporate -- if it looks too bad for you to live with, make the piece again... If you jig up your parts so gravity is your friend, and use the right amount of solvent (practice, practice) this should not be too much of a problem.
8) GOOD LUCK AND I HOPE YOU ENJOY THE FRUITS OF YOUR LABOR SOON!
If I had this to do over:
A) I would make the triangles wider, (or just bigger) so they channeled the water closer to the middle when the wind is really blowing and the boat heels in the slip.
B) I would use nice prisms at the bottom corners (see photo #4) instead of raggedy blocks of left-over scrap.
C) I plan to make another panel to replace the top one that would have rain-protection and two 12V fans in it. If anyone is interested in this, please let me know as it would be proportionately simpler and cheaper to make several at once...
Feel free to contact me if you have questions or I can help in any way.
Michael Daley
Redwood Coast Marine Electrical
www.RedwoodCoastElectrical.com
510 234 2827
707 480 8517 (cell)